
Rainy Day Bread: How to Master No-Knead Baking Without Turning Your Kitchen into a Flour Bomb
Discover practical tips for no-knead bread baking on rainy days, minimizing mess and maximizing flavor for family-friendly kitchen fun.
▶ Watch the 30s recap — or browse all reels
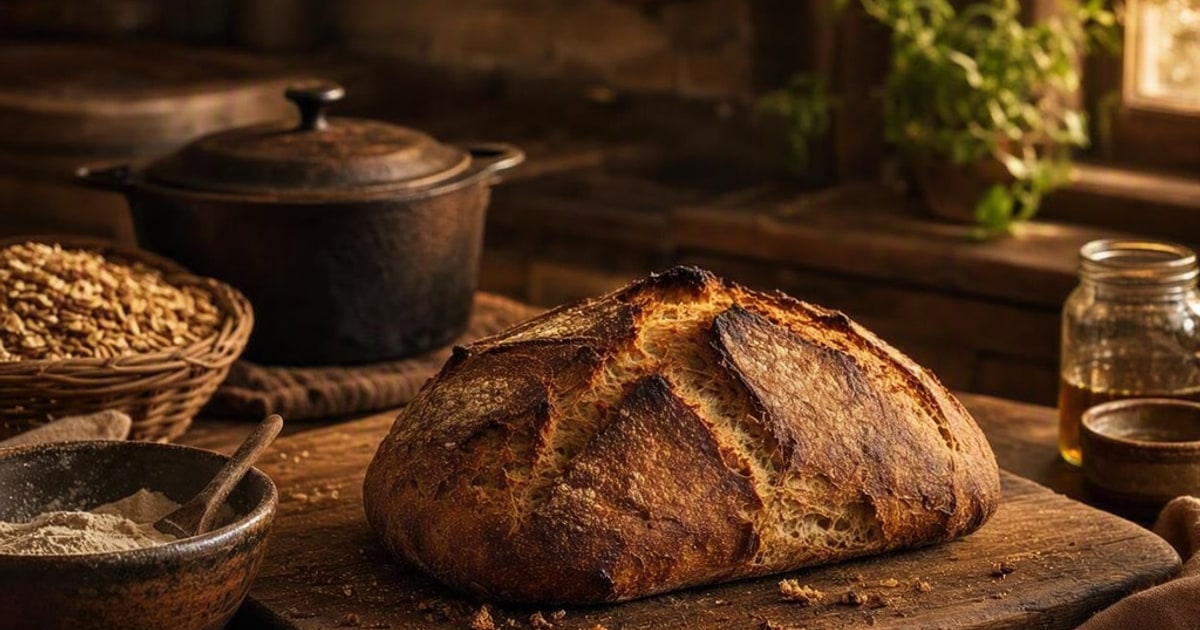
Nothing pairs better with a gray, drizzly day than the smell of fresh bread wafting through the house. No-knead bread is perfect for those Pacific Northwest afternoons when the kids are occupied with crafts, the labs are snoozing by the fire, and you’ve got just enough time to play baker without turning the kitchen into a disaster zone. Here’s how to master the art of no-knead bread while keeping the mess—and your sanity—under control.
Why No-Knead Bread?
No-knead bread is a revelation for busy families. Unlike traditional bread recipes, which require extensive kneading and careful timing, no-knead dough is forgiving and low-maintenance. The secret lies in letting time do the work. A long fermentation develops the gluten and enhances the flavor, so you can mix the dough in minutes, let it rise overnight, and bake it the next day.
This method is perfect for rainy days when you’re stuck indoors. It’s an easy way to involve the kids in the kitchen without overwhelming them—or yourself. Plus, the end result is a rustic, crusty loaf that feels like it came straight from a bakery.
Essential Tools for No-Knead Baking
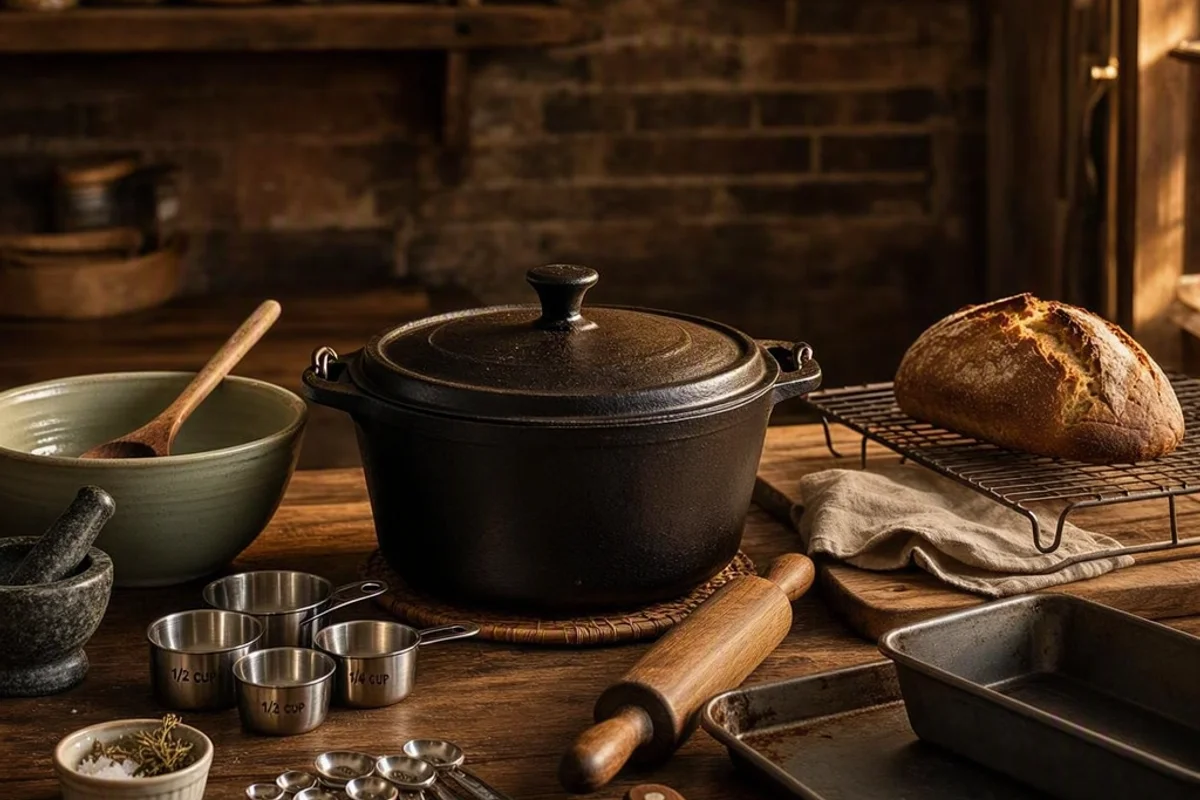
To keep this process as simple and mess-free as possible, you’ll want to have the right tools on hand. Here’s what I recommend:
1. A Good Dutch Oven
The key to achieving that bakery-style crust is baking your bread in a heavy, lidded pot. A cast iron Dutch oven traps steam, creating the perfect environment for a crisp crust. If you don’t already have one, I highly recommend the Lodge Cast Iron Dutch Oven. It’s durable, versatile, and affordable.
2. Mixing Bowls with Lids
Skip the plastic wrap and opt for mixing bowls with tight-fitting lids. They’re reusable, less wasteful, and keep your dough from drying out during its long rise. The Pyrex Smart Essentials Mixing Bowl Set is a great option and comes in various sizes.
3. A Bench Scraper
A bench scraper is a small but mighty tool for handling sticky dough. It helps you scrape the dough out of the bowl and shape it without getting your hands too messy. The OXO Good Grips Bench Scraper is a favorite in our house.
The No-Knead Bread Process
Step 1: Mix the Dough
Combine your ingredients in a large bowl. The basic recipe is simple:
- 3 cups all-purpose flour
- 1 1/4 teaspoons salt
- 1/4 teaspoon instant yeast
- 1 1/2 cups warm water
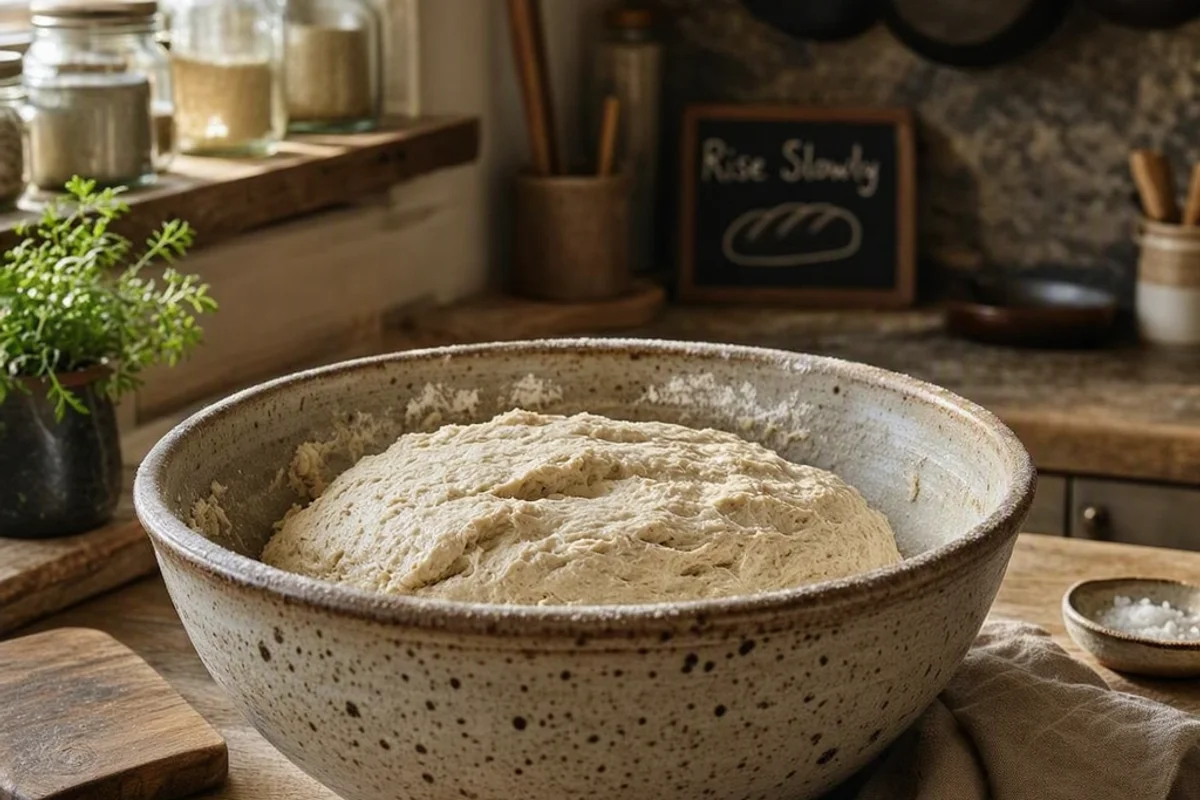
Stir until you have a shaggy, sticky dough. Cover the bowl with a lid or a damp towel and let it sit at room temperature for 12–18 hours.
Step 2: Shape the Dough
Once the dough has risen and looks bubbly, turn it out onto a floured surface. Use a bench scraper to fold the dough over itself a few times, shaping it into a ball. Let it rest for about 30 minutes.
Step 3: Preheat Your Oven
Place your Dutch oven (with the lid on) in the oven and preheat to 450°F. This step is crucial for creating the steam needed for a crusty loaf.
Step 4: Bake
Carefully transfer the dough into the hot Dutch oven. Cover with the lid and bake for 30 minutes. Then, remove the lid and bake for another 15–20 minutes until the crust is golden brown.
Step 5: Cool
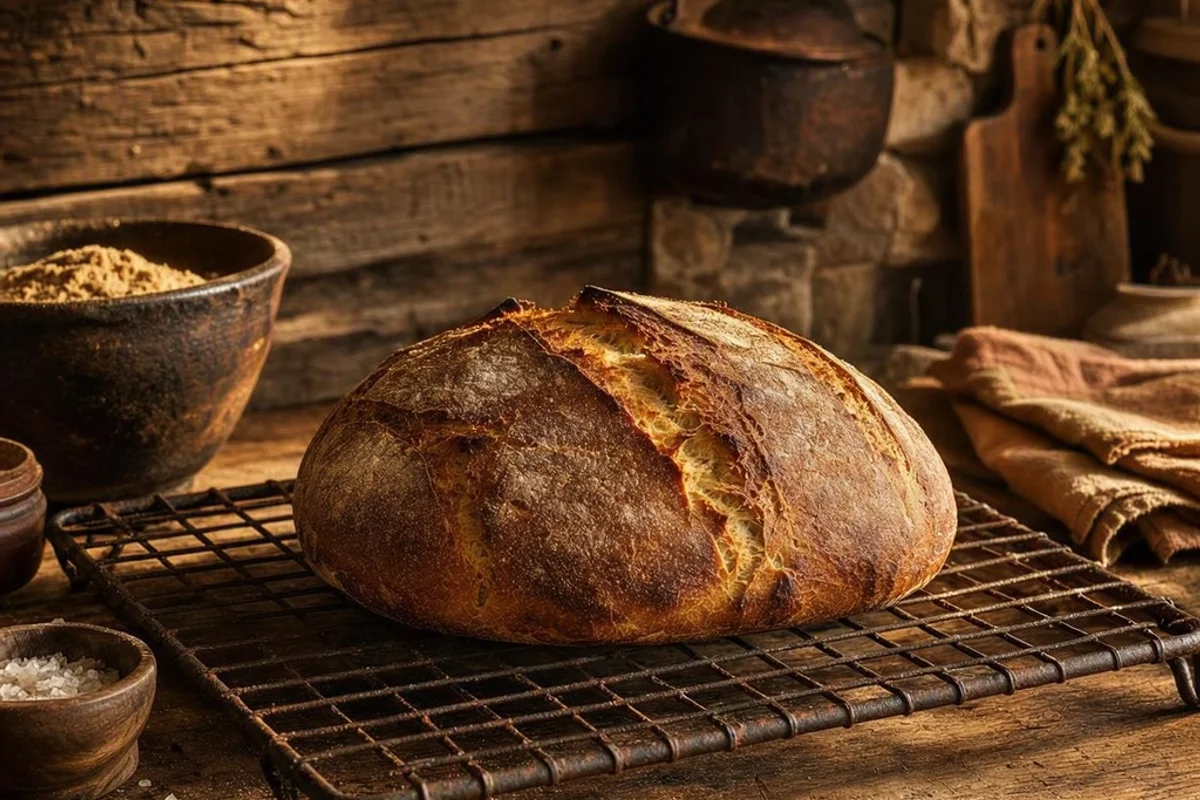
Resist the urge to slice into your bread right away! Let it cool on a wire rack for at least an hour. This allows the crumb to set and makes slicing easier.
Tips for a Mess-Free Experience
- Use a Large Mixing Bowl: This contains the mess and gives the dough plenty of room to rise.
- Flour Strategically: Lightly flour your work surface and hands to prevent sticking, but don’t overdo it.
- Line Your Dutch Oven: Use parchment paper to make transferring the dough easier and cleanup a breeze.
- Keep a Damp Cloth Nearby: Wiping your hands and tools as you go minimizes dried-on dough.
Frequently Asked Questions
Can I use whole wheat flour instead of all-purpose?
Yes, but keep in mind that whole wheat flour absorbs more water and can make the dough denser. Start by substituting half the all-purpose flour with whole wheat and adjust the water as needed.
How do I store leftover bread?
Store your bread in a paper bag or loosely wrapped in a kitchen towel to maintain its crust. For longer storage, slice and freeze the bread; toast slices directly from frozen when needed.
Can I add mix-ins like cheese or herbs?
Absolutely! Add mix-ins like shredded cheese, chopped herbs, or dried fruit during the initial mixing step. Just be mindful of how additions might affect the dough’s hydration.
What to Read Next
- Dutch Oven vs. Grill Basket: Which Summer Cooking Tool Earns Its Keep
- The Forgotten Freezer: A Practical Guide to Reviving Hidden Meal Prep Gold
- The Rainy Day Escape Room: How to Build an At-Home Puzzle Adventure Your Kids Won’t Forget
Enjoy your rainy day baking adventure! There’s nothing quite like the satisfaction of pulling a golden loaf from the oven and sharing it with your family.

Written by Nick Reef
Nick is the Pacific Northwest dad behind OpsHQ Go — software engineer by day, parent of three by night. Everything here is tested first-hand by our family of five (plus three labs and an orange cat): recipes cooked in our kitchen, trails hiked on real weekends, games played at our table.
More about Nick & the family →Found this helpful? Share it!
Get More Shortcuts
Weekly tips, hacks, and adventures delivered to your inbox.
You Might Also Like
4 Pacific Northwest Salmon & Steelhead Recipes That'll Make You the Camp MVP
8 min read
📝 recipes-kitchenHomemade Pet Treats: Kitchen Projects Your Kids and Critters Will Love
8 min read
📝 recipes-kitchenThe Dutch Oven Debacle: Learning to Love Cast Iron Despite a Soggy Start
8 min read