
How to Waterproof Your Fall Hiking Gear Without Spending a Fortune
Practical tips for waterproofing your hiking gear on a budget, tailored for unpredictable Pacific Northwest fall weather.
▶ Watch the 30s recap — or browse all reels
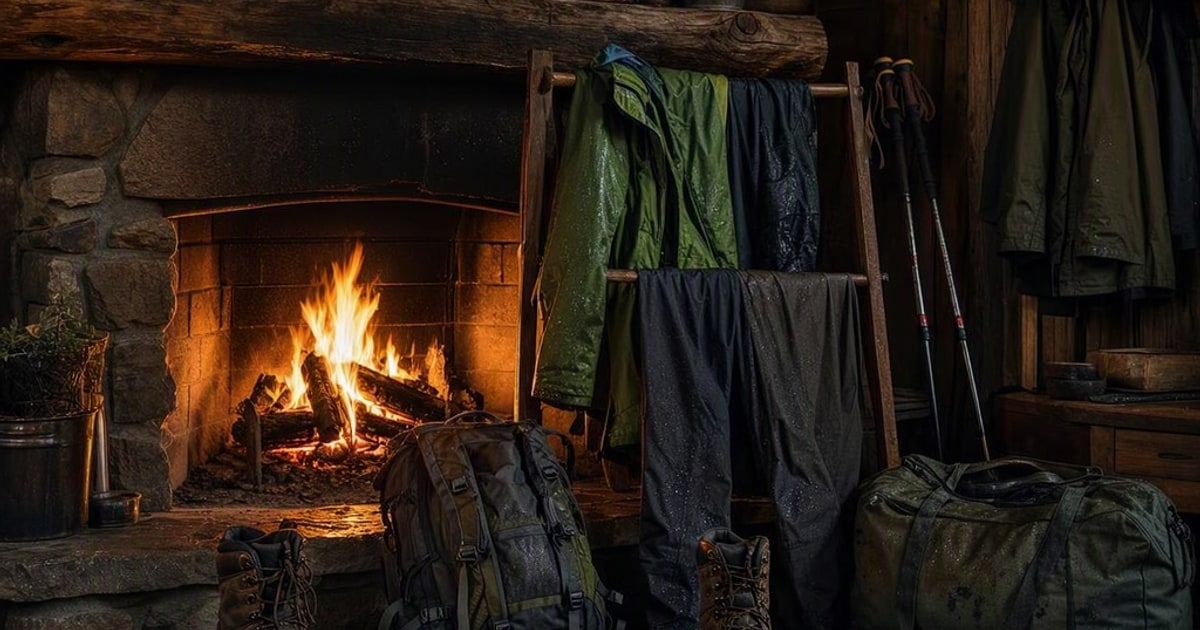
Fall in the Pacific Northwest means you’re gambling with rain on every hike. Instead of shelling out for new waterproof gear, I’ve got a tried-and-true system for upgrading what you already own. It’s budget-friendly, family-tested, and great for those unpredictable trail days. Here’s how to keep your gear dry without breaking the bank.
Why Waterproofing Matters in Fall Hiking
The Pacific Northwest is notorious for its unpredictable fall weather. You can start a hike under sunny skies and end drenched in rain. Waterproofing your gear not only keeps you comfortable but also extends the life of your equipment. From boots to backpacks, a little preparation goes a long way.
Start with Your Boots
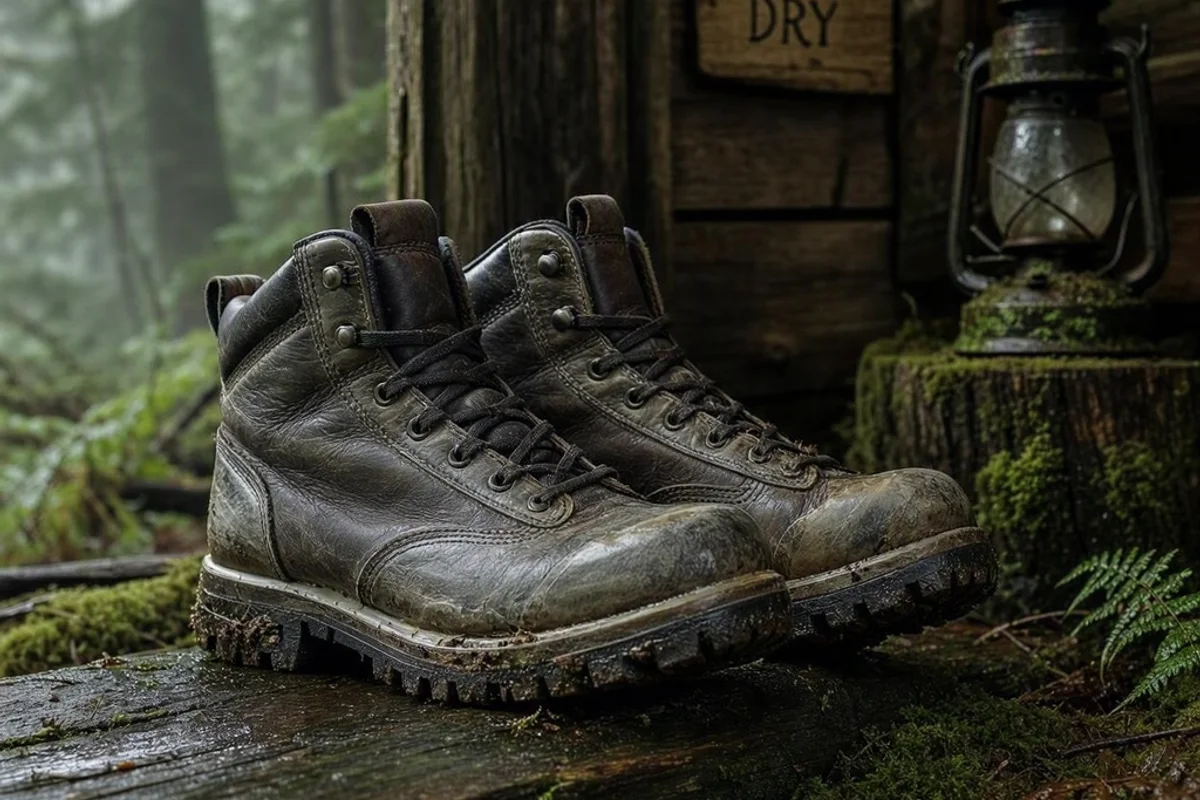
Boots are your first line of defense against wet trails. If your hiking boots aren’t waterproof, it’s time to fix that. Begin by cleaning them thoroughly—mud and debris can block waterproofing sprays from adhering properly. Once clean and dry, apply a waterproofing spray or wax.
I’ve had great results with Nikwax Waterproofing Wax. It’s easy to apply and works well on leather and synthetic materials. Just rub it in, let it dry, and you’re good to go.
Protect Your Jacket
A waterproof jacket is essential for fall hikes. If yours has lost its water resistance, don’t toss it—revive it. Wash your jacket with a specialized cleaner like Grangers Performance Wash. Then, apply a durable water repellent (DWR) treatment.
I recommend Nikwax TX.Direct Spray-On. It’s simple to use and doesn’t require heat for activation, making it ideal for older jackets.
Waterproof Your Backpack
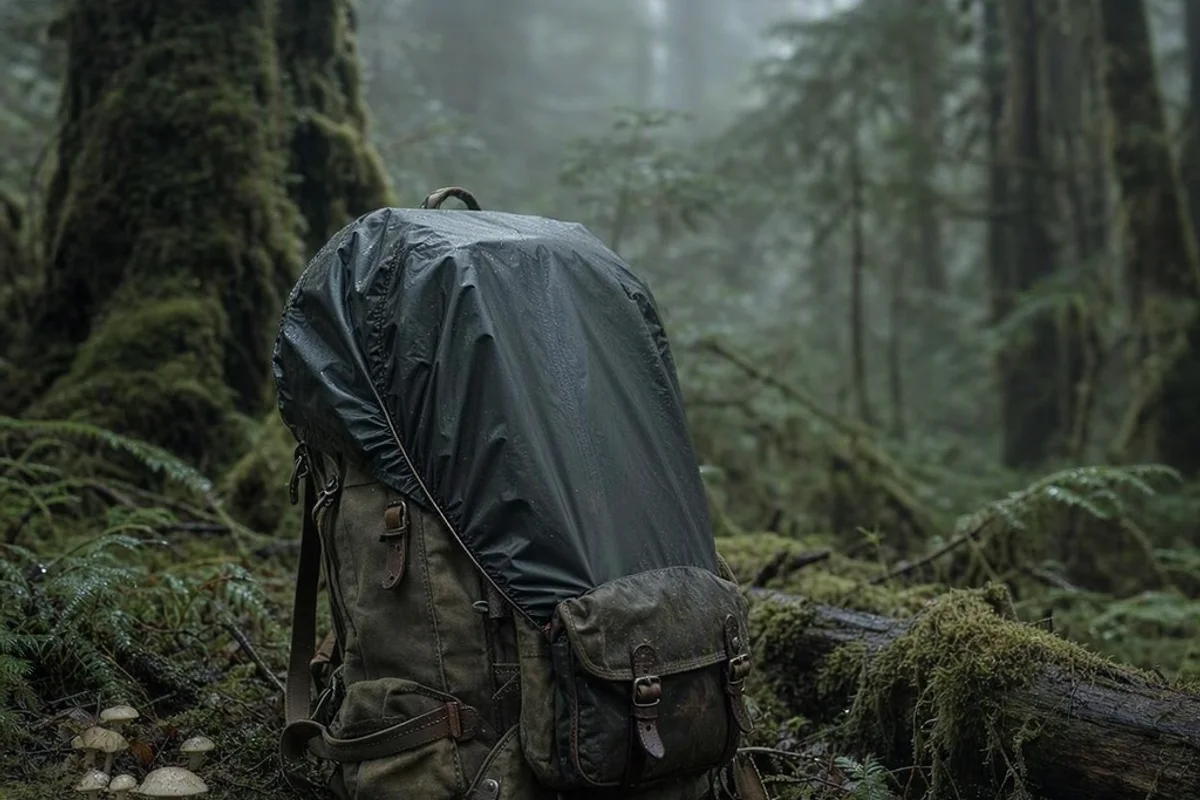
Your backpack carries critical gear, so keeping it dry is non-negotiable. Start by sealing seams with a seam sealer like Gear Aid Seam Grip. For added protection, use a rain cover or line the inside with a heavy-duty garbage bag.
Don’t Forget Your Socks
Wet socks can ruin a hike faster than anything else. Invest in waterproof socks or treat your current ones with a water-repellent spray. SealSkinz Waterproof Socks are a fantastic option for keeping your feet dry.
DIY Waterproofing Hacks
If you’re on a tight budget, here are some DIY methods:
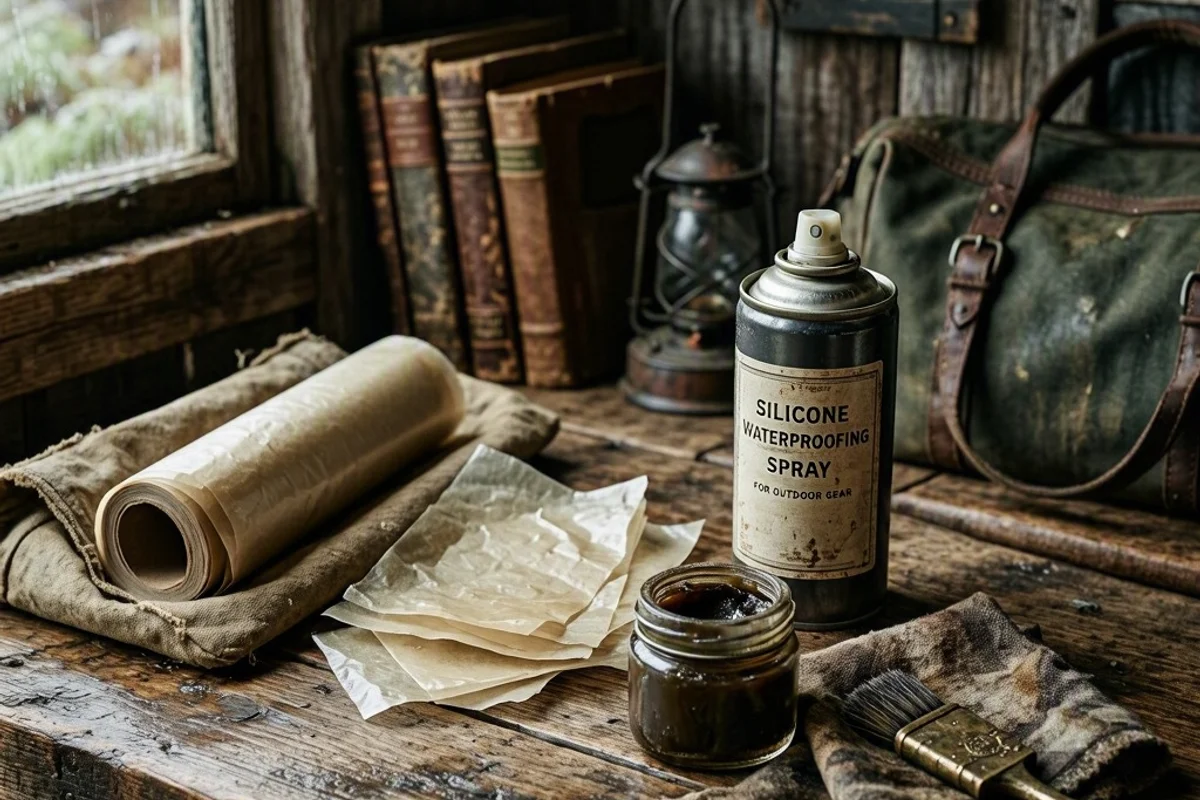
- Wax Paper: Rub wax paper over fabric surfaces to create a water-resistant layer.
- Silicone Spray: Use silicone spray for quick waterproofing. It’s not as durable as DWR treatments but works in a pinch.
- Plastic Bags: Line boots or backpacks with plastic bags for an extra barrier.
Frequently Asked Questions
Can I waterproof gear that’s already worn out?
Yes, but results vary. For heavily worn gear, focus on patching holes and sealing seams before applying waterproof treatments. Products like Gear Aid Tenacious Tape can help extend the life of older gear.
How often should I reapply waterproof treatments?
Reapply treatments at least once a season or whenever you notice water soaking in instead of beading off. High-use items like boots and jackets may require more frequent applications.
Are DIY waterproofing methods as effective as store-bought solutions?
DIY methods are great for temporary fixes but don’t match the durability of professional treatments. Use them for emergencies or less critical gear.
What to Read Next

Written by Nick Reef
Nick is the Pacific Northwest dad behind OpsHQ Go — software engineer by day, parent of three by night. Everything here is tested first-hand by our family of five (plus three labs and an orange cat): recipes cooked in our kitchen, trails hiked on real weekends, games played at our table.
More about Nick & the family →Found this helpful? Share it!
Get More Shortcuts
Weekly tips, hacks, and adventures delivered to your inbox.