
How to Set Up a Backyard Obstacle Course That Actually Entertains the Kids
Create a fun and engaging backyard obstacle course for kids with this dad-tested guide.
▶ Watch the 30s recap — or browse all reels
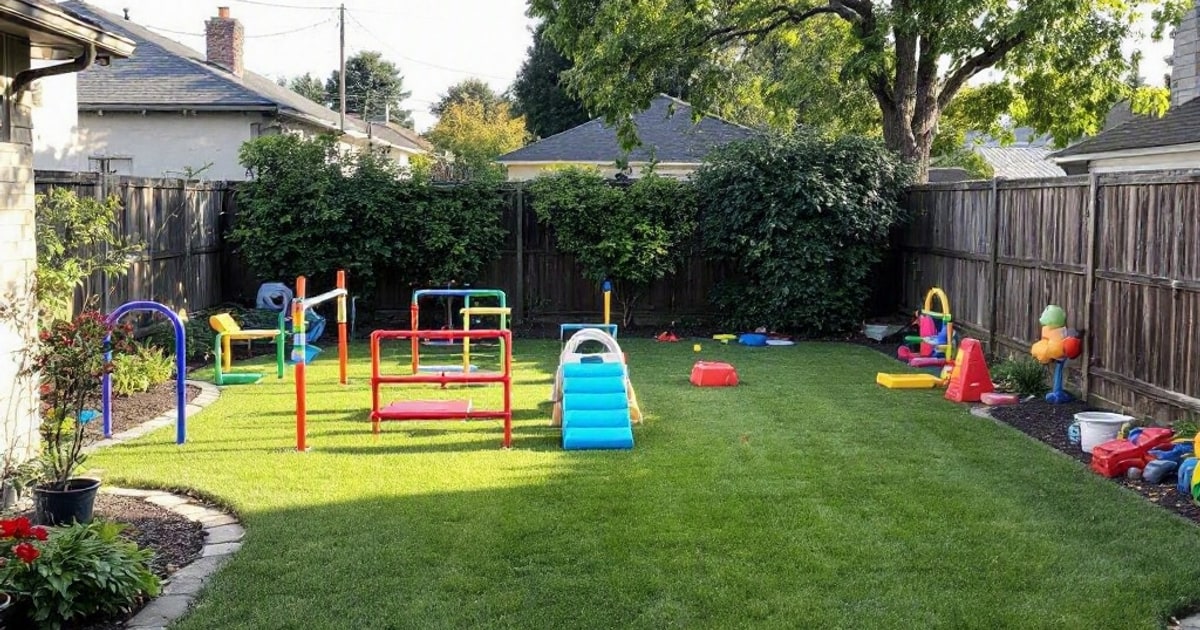
When the sun’s out and the kids are buzzing with summer energy, a backyard obstacle course can be the hero of the day. Done right, it’s easy to set up, keeps them engaged, and lets you sneak in a little lawn care while they burn off steam. Let’s build something fun without over-engineering chaos.
Step 1: Plan Your Space and Layout
The first step is to assess your backyard. Whether you have a sprawling lawn or a modest patch of grass, you can design an obstacle course that fits your space. Start by sketching a rough layout. Think of a mix of activities that encourage running, crawling, jumping, and balancing. If you’re like me, you’ll also want to keep an eye on the sprinkler heads to avoid accidental geysers.
Key Considerations:
- Safety First: Check for hazards like sharp rocks, uneven ground, or low-hanging branches.
- Age Appropriateness: Tailor the course to your kids’ ages and abilities. Younger kids might love a simple crawl-through tunnel, while older ones may enjoy a more challenging balance beam.
- Flow: Arrange obstacles in a logical order to keep the energy up and prevent bottlenecks.
Step 2: Gather Materials
You don’t need to spend a fortune to create an engaging obstacle course. Many household items can be repurposed into fun challenges. Here’s a list of ideas to get you started:
- Hula Hoops: Use them for jumping stations or as targets for beanbag tosses. Try these Durable Hula Hoops for a sturdy option.
- Pool Noodles: These are incredibly versatile. Bend them into arches for crawling under or use them as markers.
- Cones or Markers: Set up zigzag paths for running. A set like Agility Training Cones works great.
- Ropes: Lay them on the ground for kids to balance on or tie them between trees for a limbo challenge.
- Chalk: Draw paths, hopscotch grids, or start/finish lines on pavement.
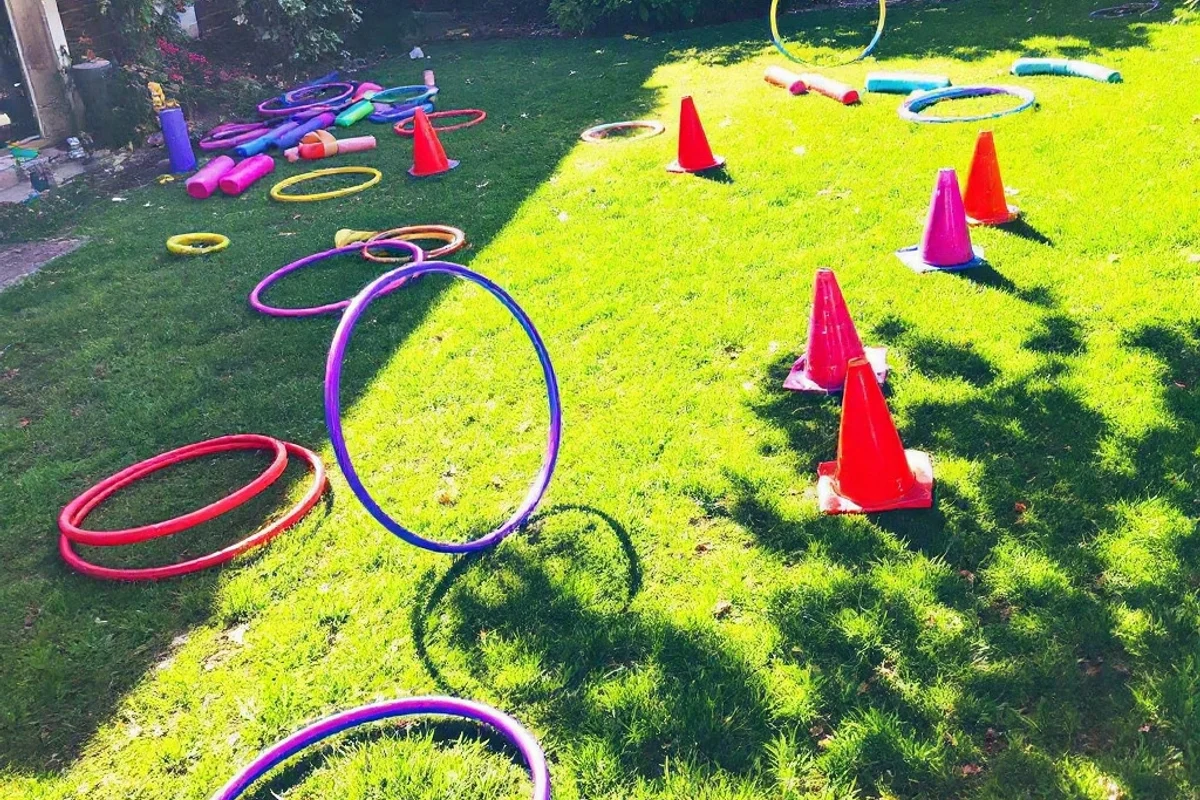
Step 3: Build the Obstacles
Now for the fun part—setting up the course! Here are some ideas for obstacles:
1. Crawl-Through Tunnel
Use a pop-up tunnel or build one with chairs and blankets. This is always a hit with younger kids. If you don’t have one, consider this Collapsible Play Tunnel.
2. Hurdles
Set up small hurdles using pool noodles or broomsticks balanced on buckets. Adjust the height as needed for different age groups.
3. Balance Beam
A simple wooden plank on the ground works well. For added challenge, raise it slightly using bricks or sturdy blocks.
4. Target Toss
Hang a hula hoop from a tree branch and have the kids toss beanbags or balls through it. You can also use laundry baskets as ground targets.
5. Jumping Stations
Use hula hoops or chalk-drawn circles to create stations where kids have to jump from one to the next.
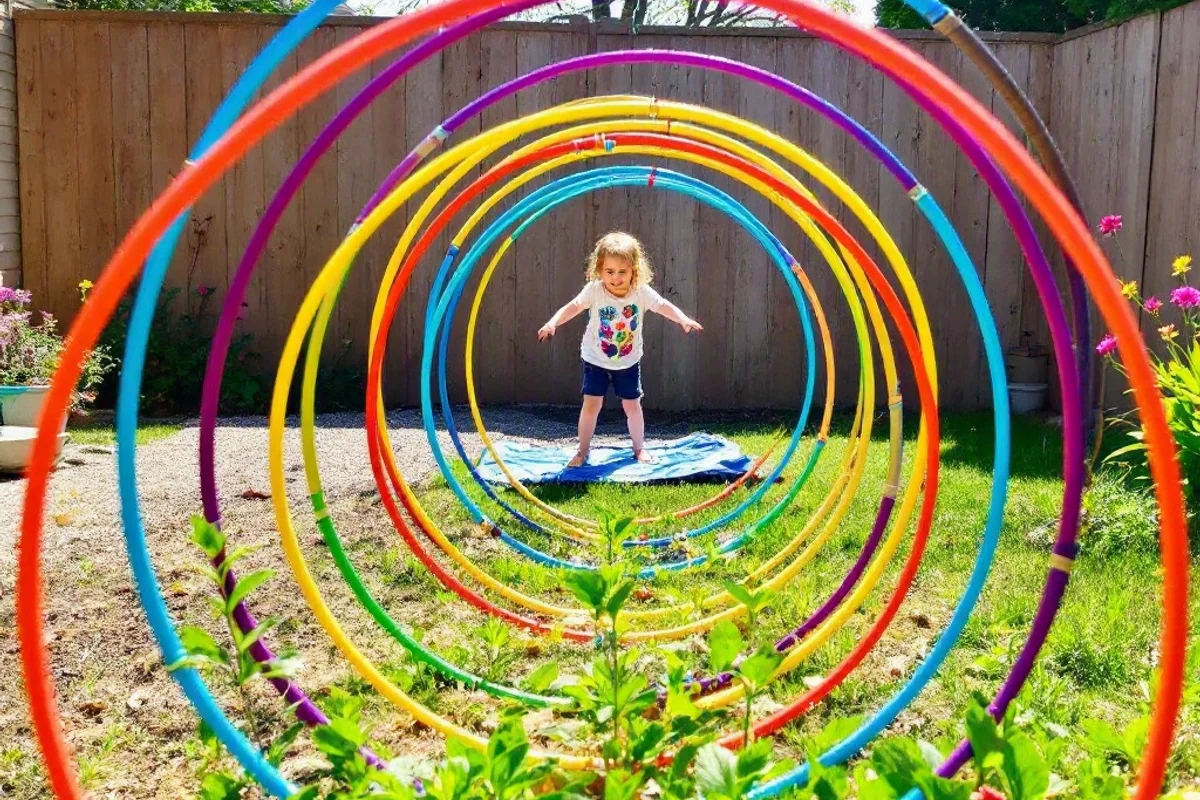
Step 4: Add Challenges and Variations
To keep the course exciting, add some challenges:
- Time Trials: Use a stopwatch to see who can complete the course the fastest.
- Relay Races: Divide the kids into teams and have them compete.
- Obstacle Themes: Create a pirate adventure, jungle safari, or superhero training camp.
Step 5: Test and Adjust
Before unleashing the kids, test the course yourself or with your partner. This ensures everything is safe and functional. Adjust as needed to fix any issues or add extra fun.
Step 6: Let the Fun Begin
Once the course is ready, gather the kids and explain the rules. Demonstrate each obstacle to ensure everyone understands. Then step back and watch the fun unfold! Don’t forget to join in for a round or two—you might surprise yourself with how much you enjoy it.
Frequently Asked Questions
What if I don’t have a large backyard?
No problem! You can adapt the course to fit smaller spaces by using compact obstacles like hopscotch grids, jump ropes, or even a single balance beam. Indoors, you can use furniture and pillows to create a mini version.
How do I keep the kids engaged for longer?
Introduce variations like time trials, themed challenges, or team competitions. You can also rotate obstacles or add new ones every few days to keep things fresh.
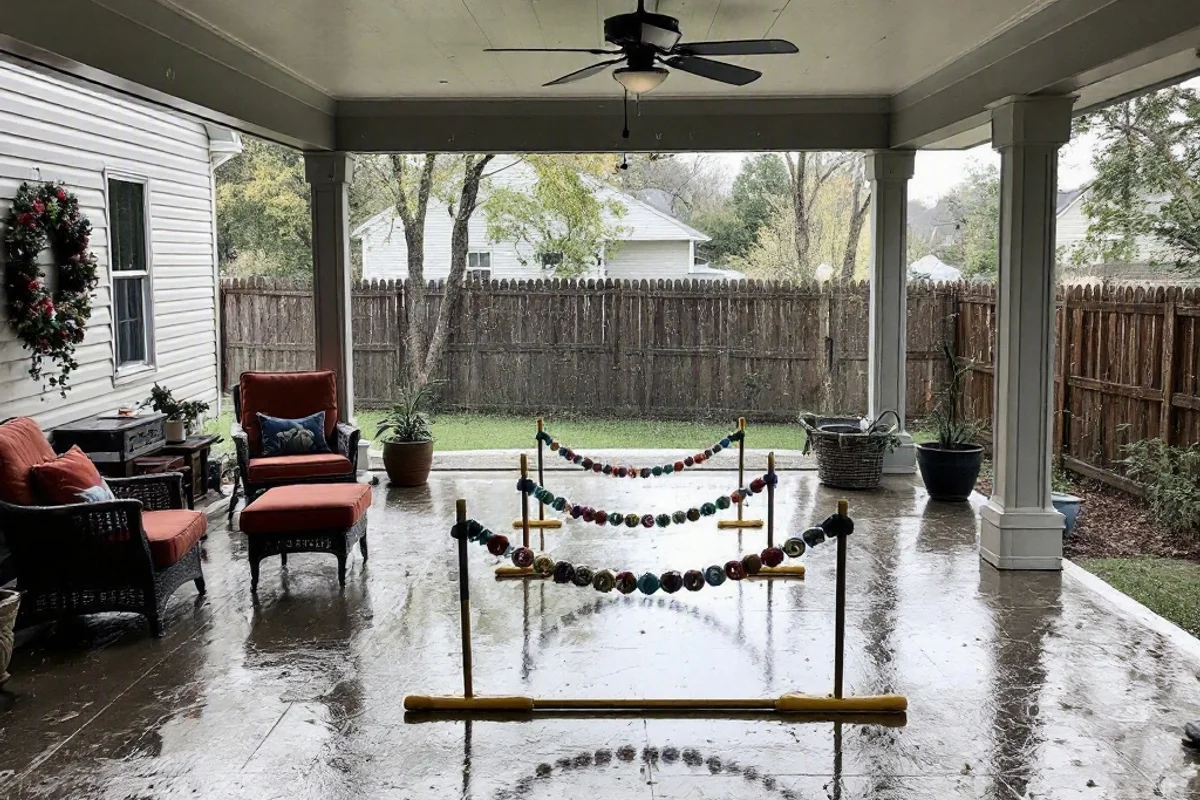
What if it rains?
Living in the Pacific Northwest, rain is always a possibility. Consider setting up a smaller, portable version in the garage or under a covered patio. Keep a few Rainproof Board Games handy as a backup plan.
What to Read Next

Written by Nick Reef
Nick is the Pacific Northwest dad behind OpsHQ Go — software engineer by day, parent of three by night. Everything here is tested first-hand by our family of five (plus three labs and an orange cat): recipes cooked in our kitchen, trails hiked on real weekends, games played at our table.
More about Nick & the family →Found this helpful? Share it!
Get More Shortcuts
Weekly tips, hacks, and adventures delivered to your inbox.