
Bikes, Buckles, and Bruises: The Day I Built a Better Bike Rack for Family Rides
How I rebuilt our bike rack system after a family mishap, ensuring safer and smoother adventures.
▶ Watch the 30s recap — or browse all reels
The Day It All Went Sideways
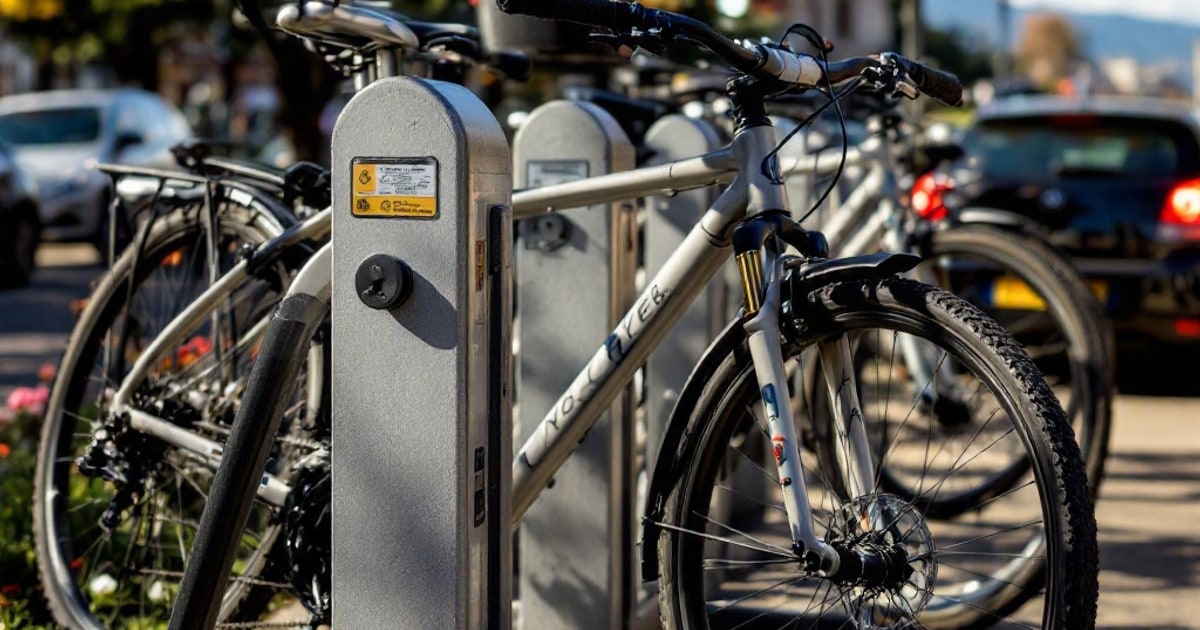
We thought we had the bike rack situation dialed—until three kids, a wobbly strap, and a sharp turn proved otherwise. That day, I learned the hard way just how much a poorly-secured load can derail a family ride. Our youngest’s bike nearly bounced off the rack, and the sound of rattling metal still haunts me. Thankfully, nothing was lost or damaged beyond repair, but it was a wake-up call. I knew I had to build a better system before our next outing.
Assessing the Problem
The first issue was the rack itself. It was an older model, a hand-me-down from my brother-in-law. While it had served us well for a few years, it was clear that the straps and buckles were wearing out. After a quick inspection, I realized the padding was insufficient, and the tensioning system wasn’t holding up under the weight of multiple bikes. Add in the fact that we were now transporting bikes for three kids and two adults, and it was clear I needed an upgrade.
Research and Planning
I spent a solid weekend researching options. Online reviews were a rabbit hole, but they helped me narrow down my choices. I knew I wanted a hitch-mounted rack for stability. I also wanted something easy to load and unload because, let’s face it, wrangling kids and bikes in a parking lot is chaos enough without fumbling with complicated mechanisms.
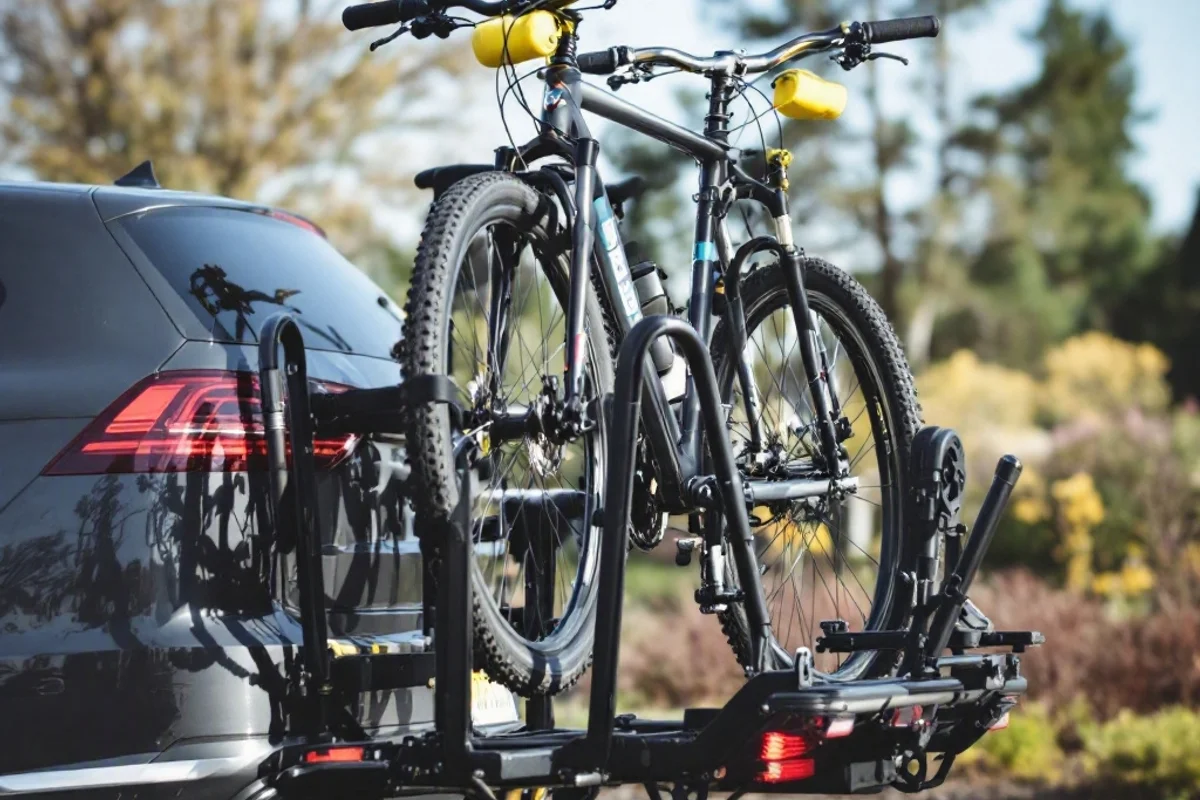
After much deliberation, I landed on the Thule T2 Pro XTR. It’s a hitch-mounted rack with adjustable cradles and a robust locking system. Plus, it folds up when not in use, a feature I knew would come in handy in our already crowded garage.
The Installation Process
Installing the new rack was surprisingly straightforward. The hardest part was removing the old one, which had rusted bolts that required some WD-40 and elbow grease. Once the hitch was clear, the new rack slid in easily. I followed the manual meticulously, double-checking every bolt and adjustment. With the rack in place, I tested it with all five bikes. The adjustable cradles made it easy to accommodate different frame sizes, and the locking mechanism felt rock-solid.
Adding Custom Touches
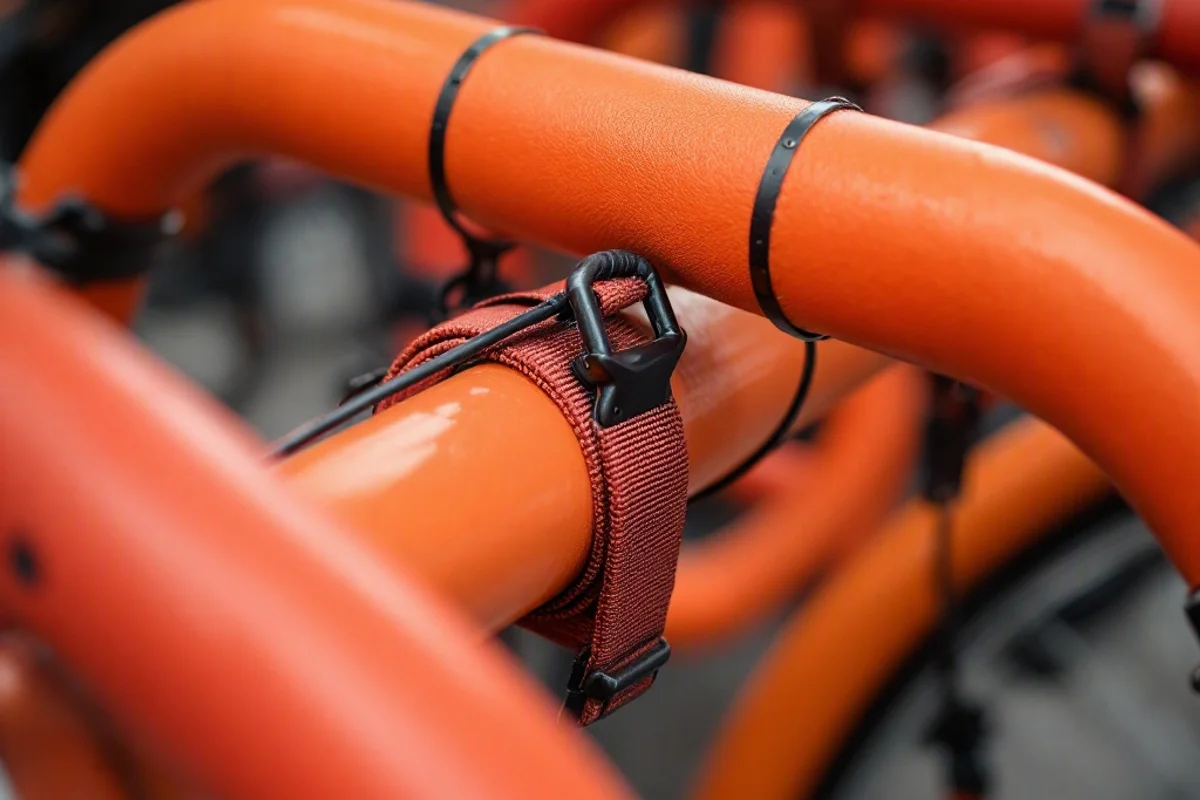
While the new rack was a significant improvement, I wanted to ensure maximum safety and convenience. I added extra padding to the cradles using foam pipe insulation and zip ties. This provided additional protection for the bike frames. I also invested in a set of heavy-duty ratchet straps for added stability. These straps were a game-changer, keeping the bikes immobile even on bumpy roads.
To keep everything organized, I picked up a gear storage bag for the back of the car. It’s a simple solution for stashing helmets, gloves, and water bottles, making it easier to grab what we need when we arrive at our destination.
Lessons Learned
Test Before You Travel
One of the most valuable lessons I learned was the importance of testing the setup before hitting the road. After installing the new rack, I took the car for a short drive around the neighborhood. This allowed me to identify and fix minor issues, like a loose strap or an uneven load, before they could become major problems.
Involve the Kids
Getting the kids involved in the process was another unexpected win. They helped me test the setup and learned how to secure their bikes properly. This not only saved time during future outings but also gave them a sense of responsibility and ownership.
Prioritize Quality
While the initial cost of the new rack and accessories was higher than I’d hoped, the peace of mind was worth every penny. Investing in quality equipment has not only improved our family rides but also ensured the safety of everyone involved.
Frequently Asked Questions
How do I choose the right bike rack for my family?
Consider the number of bikes you need to transport, the type of vehicle you have, and how often you’ll use the rack. Hitch-mounted racks are generally more stable and easier to load than trunk-mounted options. Look for features like adjustable cradles and locking mechanisms for added security.
What’s the best way to secure bikes on a rack?
Use the built-in straps or locking mechanisms provided with your rack. For extra stability, consider adding heavy-duty ratchet straps. Ensure that each bike is evenly spaced and that no parts are rubbing against each other to prevent damage.
Are there any safety checks I should perform before driving?
Absolutely. Double-check all straps and locks to ensure they’re secure. Test the setup by gently shaking the bikes to confirm they’re immobile. Take a short test drive to listen for unusual noises or vibrations, which could indicate an issue.
What to Read Next

Written by Nick Reef
Nick is the Pacific Northwest dad behind OpsHQ Go — software engineer by day, parent of three by night. Everything here is tested first-hand by our family of five (plus three labs and an orange cat): recipes cooked in our kitchen, trails hiked on real weekends, games played at our table.
More about Nick & the family →Found this helpful? Share it!
Get More Shortcuts
Weekly tips, hacks, and adventures delivered to your inbox.