
Backyard Fire Pit Basics: 4 Mistakes That Killed Our First Cookouts
4 fire pit mistakes that ruined our first backyard cookouts.
▶ Watch the 30s recap — or browse all reels
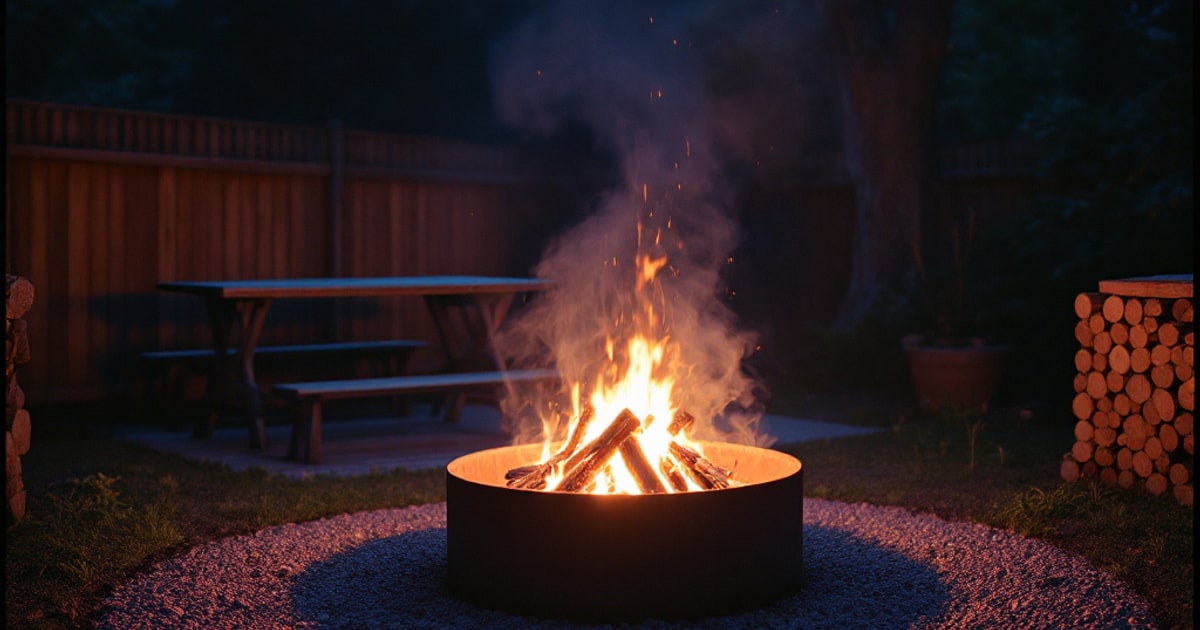
Backyard fire pit basics sounded simple enough: buy metal bowl, add wood, become the kind of family that casually roasts dinner while the evening turns blue. Instead, our first season of cookouts felt like a slow-motion training video, somewhere near our hopeful backyard movie night setup.
We eventually figured it out, but not before smoke chased everybody indoors, the yard took a minor beating, and our dog discovered that a fallen marshmallow can still be very much on fire.
How we ended up with a fire pit
Like a lot of Pacific Northwest family purchases, the fire pit started as a mood. We had made it through another long gray stretch of rain, the grass was finally cooperating, and I wanted one easy reason to keep everyone outside after dinner.
In my head, the pitch was flawless: hot dogs on Friday, s’mores on Saturday, and the same low-pressure energy as our favorite spring family activities in the Pacific Northwest. So I bought a portable pit, stacked some chairs around it, and congratulated myself early.
That first season taught me a useful lesson: a backyard fire pit is less about flame and more about setup. The wood, the wind, the surface underneath, and the shutdown plan decide whether you get a cozy cookout or a family story told at your expense for the next three summers.
Mistake #1 — The wrong wood
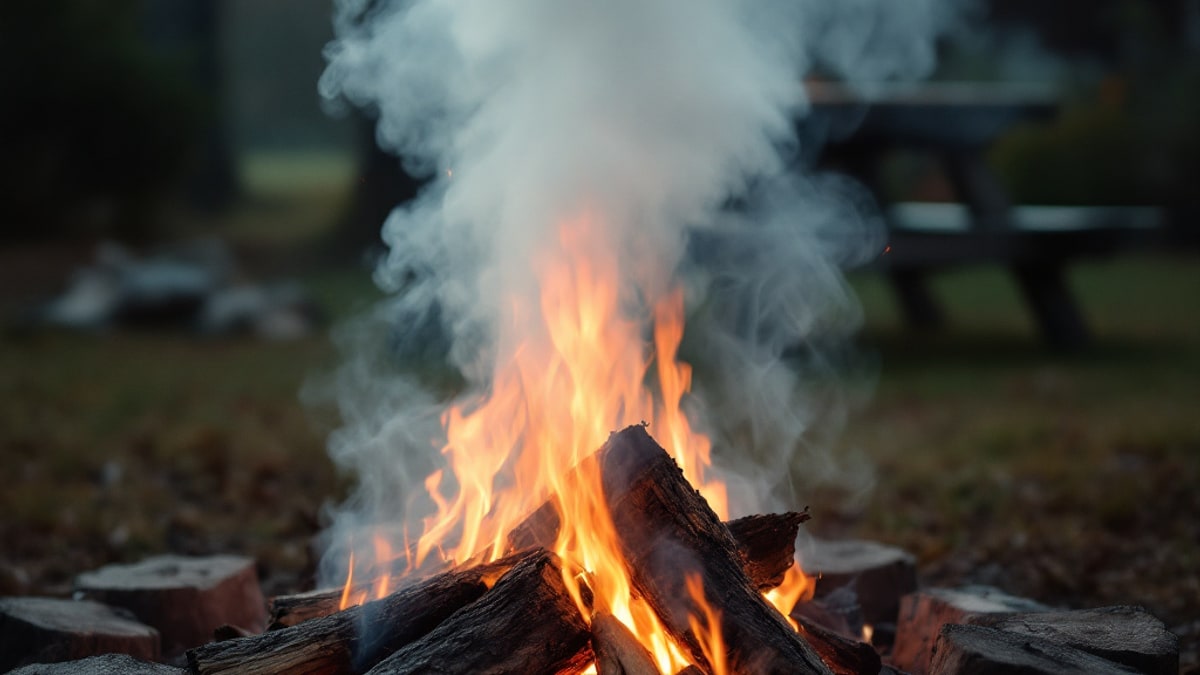
For our first cookout, I used what I generously described as “wood we already had,” which is another way of saying damp scraps, half-cured pieces, and a few softwood chunks that had spent enough time in Pacific Northwest air to become herbal tea. It lit, technically. It also smoked like we were sending distress signals to Bainbridge.
Within ten minutes, the kids were rubbing their eyes, my wife was moving plates farther down the table, and I was crouched next to the pit doing that deeply unhelpful dad move where you poke something repeatedly as if confidence alone will dry it out. The mood was gone.
Wet or green wood burns cool, sputters, and makes more smoke than usable heat. What I should have used from the beginning was seasoned hardwood. Around here, alder is the easy answer. It’s common, it burns steadily, and it doesn’t behave like it has unresolved issues.
Now I buy properly seasoned hardwood and keep it covered but ventilated. If a split feels heavy, looks fresh, or hisses at the flame, it does not make the roster. Alder, maple, and dry oak all work. Mystery scrap lumber does not.
The fix is boring, which is how you know it works: dry hardwood, smaller splits to start, and enough patience to build a hot base before cooking. That one change alone cut the smoke by a ridiculous amount.
Mistake #2 — No wind plan
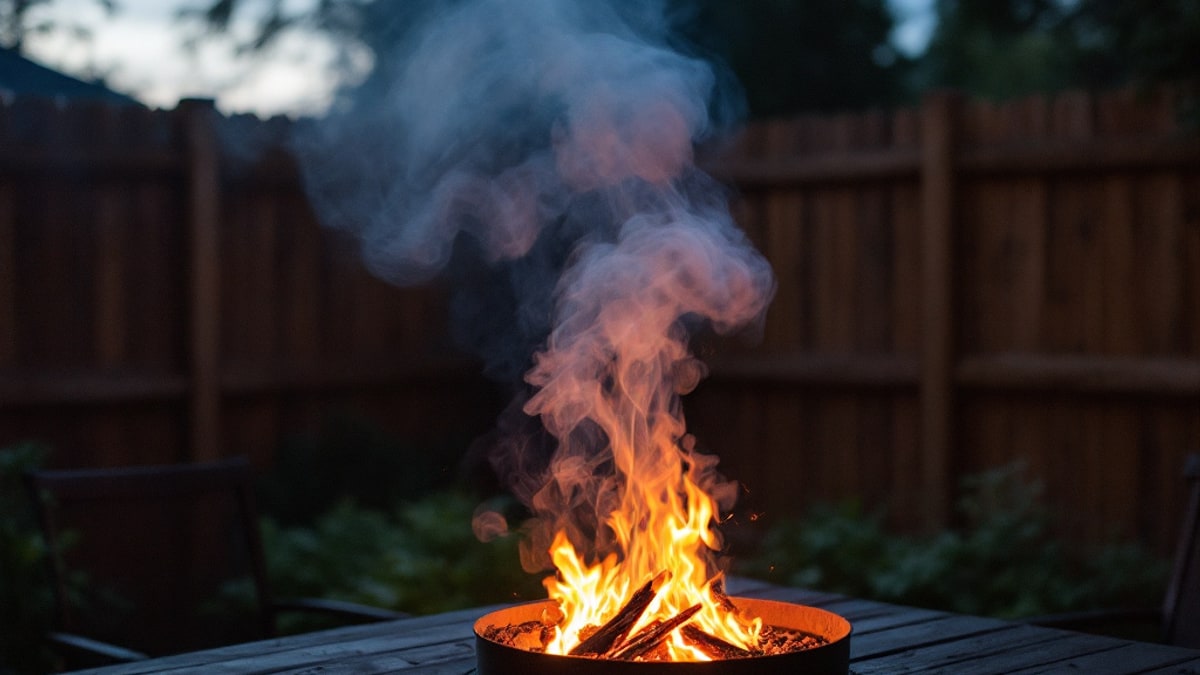
Our second mistake was treating the fire pit like patio decor. I put it where it looked nice—roughly centered, visible from the table, and emotionally satisfying to me as a man who enjoys symmetry. What I did not do was think about where the wind actually goes in our yard.
This became obvious the second the evening breeze picked a direction and stayed loyal to it. Smoke moved straight across the table and toward the neighbors’ side. We spent dinner rotating chairs in little increments like a very dumb clock.
A fire pit does not care where it looks best. It cares where the prevailing wind is headed. In our yard, the evening flow usually slides from one back corner toward the patio. Once I paid attention, it was embarrassingly consistent.
Now I do a quick wind check before I light anything. Weather apps help, but so does the low-tech method: watch a tree branch, toss a few dry grass clippings, or notice which way the smoke from the chimney two houses over is drifting. Then I put the pit upwind of the seating area, not in the middle of it. If the breeze is weird or gusty, we shift the chairs, not our expectations.
If you have a portable pit, give yourself two or three approved positions in the yard. Think like a small airport. You are trying to create a clear lane where the smoke can travel without visiting the table or your neighbor’s slider.
Mistake #3 — Skipping the heat shield
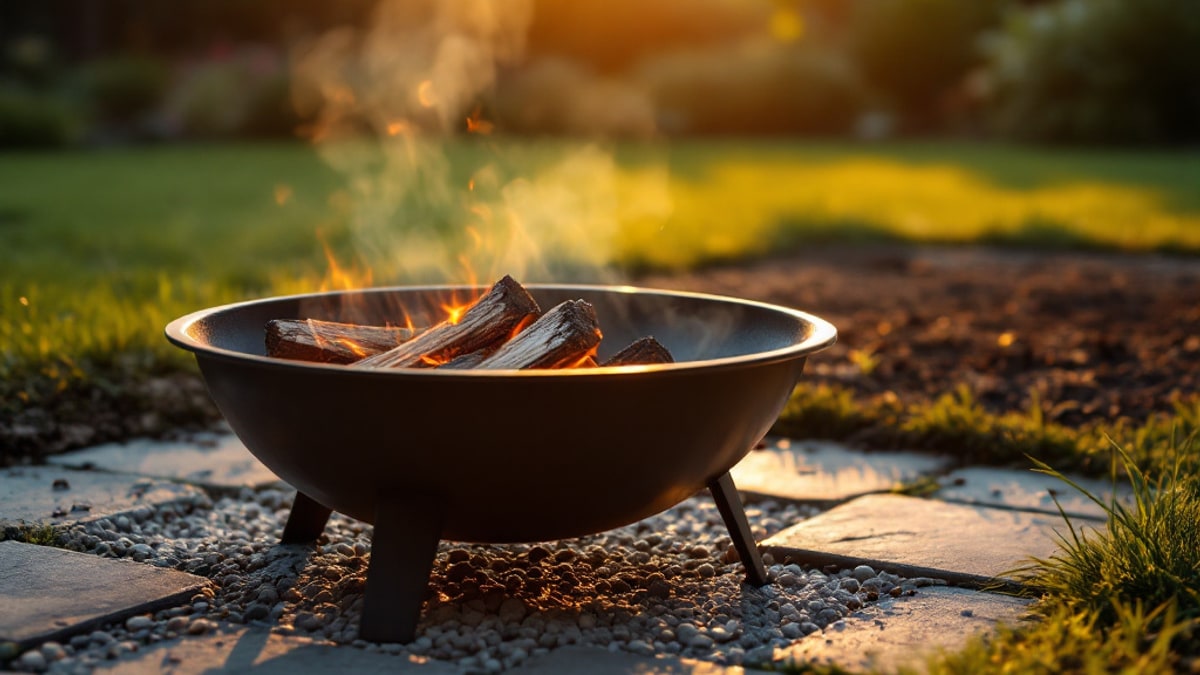
I knew, in a theoretical sense, that fire pits get hot underneath. What I did not appreciate was how much heat a portable pit can throw downward for a long stretch of time. So, in a moment of pure rookie efficiency, I set ours directly on the lawn for one cookout and later on the deck for another.
The lawn version left a dry, toasted circle that looked personally offended. The deck version was worse—not catastrophic, but enough discoloration to produce one of those quiet household conversations where nobody is yelling and you somehow still feel ten years old.
What fixed it was simple base prep. On grass, the best answer has been a gravel pad topped with pavers, wide enough that stray embers and radiant heat do not immediately reach living things. On the deck, a rated fire mat plus pavers creates a much safer buffer than bare boards. The key is not just flame protection. It is heat protection over time.
This is also where leftover backyard materials earn their keep. If you’ve done any kind of seasonal cleanup or projects like my usual spring yard work dad hack, you may already have gravel, extra pavers, or edging stone sitting around. Put them to work. Give the pit a level, non-combustible home, and your future self will not be reseeding grass while explaining what happened.
My rule now: if I would be annoyed to scorch it, the fire pit does not sit on it without a proper barrier.
Mistake #4 — Underestimating embers
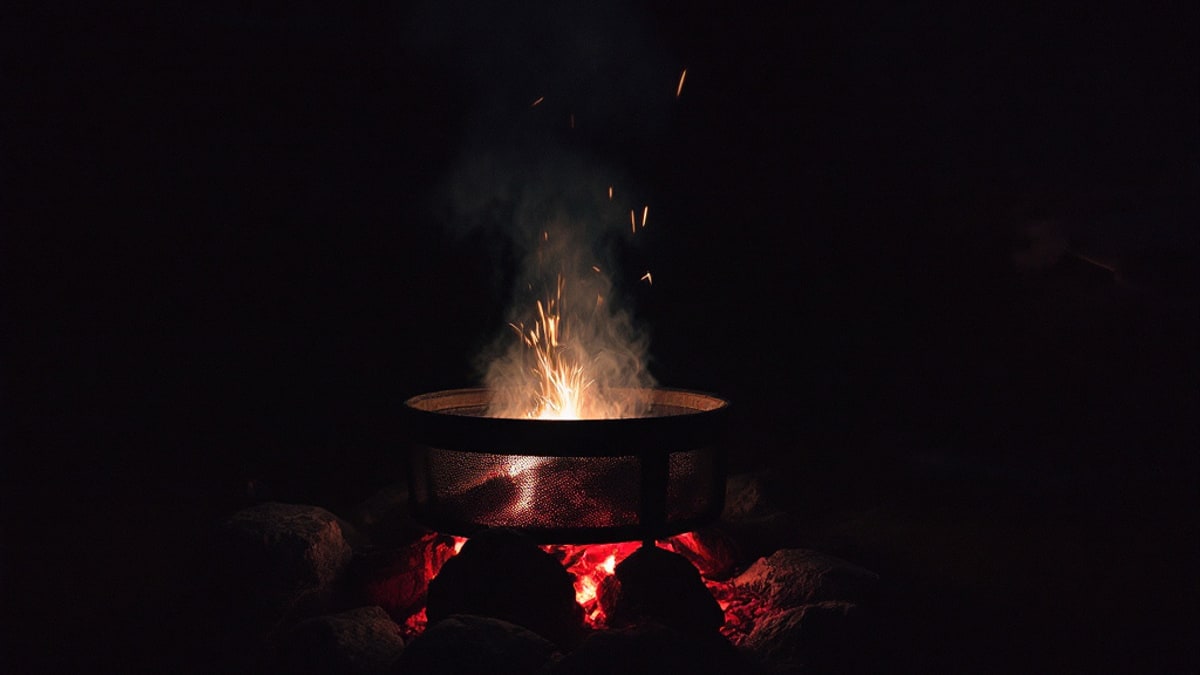
Late in that first season, we had what I thought was a perfect mellow cookout. Food was done, the fire looked smaller, and everybody had drifted into that soft end-of-evening mode where parents start cleaning while pretending not to be tired. I went inside with my wife for plates and cleanup, leaving the kids “watching the fire,” which is a phrase that should only be spoken if the kids are also certified firefighters.
In that tiny window, a marshmallow slid off a roasting stick near the ring. Our dog, who has never once ignored free food, grabbed it before anybody could react. He immediately spit it out and sprinted a few offended laps around the yard. Nothing terrible happened, thank God, but it permanently clarified the rule.
Embers stay dangerous long after the flames start looking civilized. Children are not ember supervision. Dogs are definitely not ember supervision. And “we were only inside for a minute” is how stories begin.
Now our shutdown routine is strict. One adult stays outside until the fire is fully out. We stop adding wood 30 to 45 minutes before we want to be done. I spread the logs and coals, let them burn down, then slowly add water while stirring. If there is steam, heat, or even a tiny orange glow, we are not finished. Ash goes into a metal container only after it is dead cold.
That protocol sounds less romantic than “just let it die out,” but romance is overrated when hot coals are involved.
Our current setup (gear roundup)
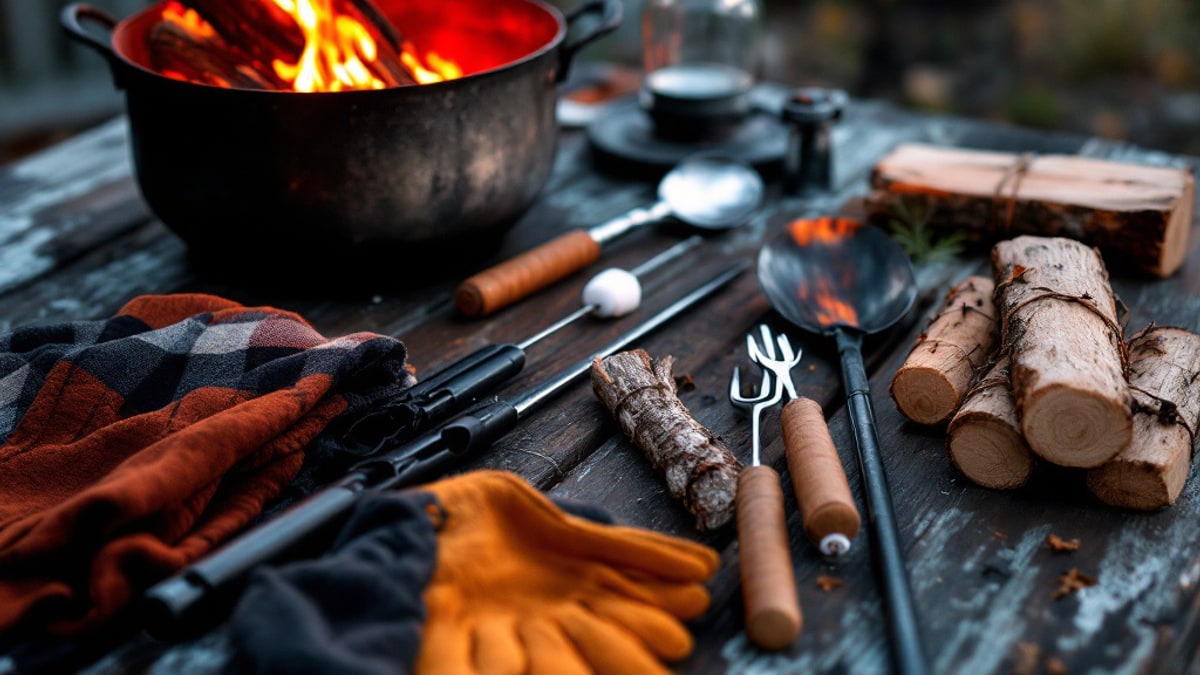
After a full season of trial, error, and humble pie served extra warm, this is the setup I’d recommend to anybody starting fresh:
| Item | Pick | Why it made the cut |
|---|---|---|
| Fire pit | TIKI Smokeless Patio Fire Pit | Usually lands in the $250–$300 range, throws solid heat, and does a much better job keeping smoke out of your dinner conversation. |
| Heat-resistant gloves | RAPICCA grill gloves | Long enough to matter, flexible enough to move grates and logs without feeling like oven mitt boxing gloves. |
| Fire-stoker | A 36-inch steel fire poker | Not glamorous, but it keeps your hands farther away and lets you spread coals, shift logs, and manage shutdown without improvising with a random stick. |
| Marshmallow forks | MalloMe telescoping roasting sticks | Cheap, color-coded, easy for kids to handle, and far less likely to donate a marshmallow directly into the ember zone. |
I also keep seasoned alder under cover, a metal ash bucket nearby, and a small bin with matches, starters, and a lighter that has not mysteriously migrated into the kitchen junk drawer. For actual meals, simple always wins: sausages, foil potatoes, or ideas borrowed from our favorite one-pan camping meals when I want outdoor food without outdoor drama.
The overall goal now is not “epic backyard fire experience.” It is easy repeatability. If setup takes ten calm minutes and cleanup takes ten more, we do it often. That is the real magic.
PNW-specific notes (burn bans, wet-season tactics)
A backyard fire pit in the Pacific Northwest comes with two realities: everything is damp until it suddenly is not, and local burn rules matter more than your vibes.
First, check the rules every time conditions change. County burn bans, city rules, HOA policies, and air-quality restrictions can all shut down recreational fires. Summer can go from “pleasant evening” to “absolutely not” in a hurry. If there is a burn ban, red-flag warning, or ugly smoke already hanging in the air, the fire pit sits it out.
Second, treat wood storage like part of the hobby. In the wet months, keep your hardwood covered on top, open on the sides, and off the ground. Bring a small batch into the garage or covered porch a day ahead if the forecast is doing its usual coastal shrug. Wet-season fires are easier when you start smaller, use dry kindling, and accept that shoulder-season cookouts may be shorter and more about heat than spectacle.
Also—and this feels very Pacific Northwest specific—do not assume “it rained this morning” means conditions are safe by evening. Dry cedar fencing, bark mulch, and a surprise east wind can make the yard feel a lot less forgiving than the clouds suggest.
FAQ
What wood should I actually buy for a backyard fire pit?
Start with seasoned hardwood from a reliable seller, not a mystery pile. In the PNW, alder is usually the easiest win because it burns steadily, smells good, and produces less smoke than damp softwood. Maple and oak are also good. Avoid green wood, treated lumber, painted scraps, and anything that feels wet, heavy, or hissy when it hits flame.
How do I keep smoke from blasting the dinner table?
Assume the wind has a plan even if you don’t. Check the breeze before lighting, then position the pit so smoke has a clean path away from seating, fences, and open windows. A portable pit helps because you can move the fire instead of rearranging dinner in defeat. If the wind turns shifty, pivot early instead of trying to out-stubborn physics.
When is the fire pit actually safe to leave?
When the coals and ash are fully cool to the touch—not “looks mostly done,” not “we’ll check in a minute,” and definitely not “the kids are watching it.” Stop feeding the fire early, spread the coals, douse with water, stir, and repeat until there is no heat, steam, or glow left. If I have any doubt at all, I stay outside longer.
This post was AI-assisted and reviewed by Dad.

Written by Nick Reef
Nick is the Pacific Northwest dad behind OpsHQ Go — software engineer by day, parent of three by night. Everything here is tested first-hand by our family of five (plus three labs and an orange cat): recipes cooked in our kitchen, trails hiked on real weekends, games played at our table.
More about Nick & the family →Found this helpful? Share it!
Get More Shortcuts
Weekly tips, hacks, and adventures delivered to your inbox.
You Might Also Like
The Portable Fire Pit Test Drive: Creating Cozy Fall Evenings Without the Smoke Drama
8 min read
👨👩👦 Family ExperiencesThe Campfire Code: Teaching Kids Safe Fire Skills Without Losing Your Nerves
8 min read
👨👩👦 Family ExperiencesPNW Ferry Day-Trips Ranked: 5 Routes by Views, Coffee, and Total Cost
10 min read